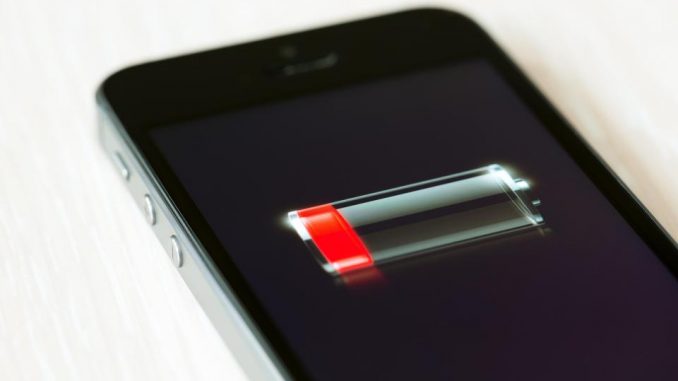
Users of mobile devices Apple began to complain about the sudden discharge of the battery after upgrading the software to iOS 11.4. Recall, this update was released in late May and brought the long-awaited support for AirPlay 2, as well as Messages in iCloud. These Apple users attacked the tech support forum. They massively report that smartphones and tablets, updated to iOS 11.4, consume battery power too quickly.
This is, indeed, a quick discharge. For example, one of the users of the iPhone 6S + complained that after an update the battery “sat down” from 50% to 20% in literally minutes, while the smartphone was not even used. At the same time, such a parameter as Battery Health reaches 90%.
At the official Apple forum, there are already several branches of discussion of this problem. In one of them, almost a thousand users confirmed its presence on their devices.
Judging by the reviews, the battery is discharged regardless of the iPhone model. In some cases, it helps to disconnect the connection to Wi-Fi networks, and in others – switch Wi-Fi from 5 GHz to 2.4 GHz. But other users such as “tricks” do not work. As a result, many rolled back on iOS 11.3.1 and the battery again began to miss the usual time.
Recommended: Download Grim Legends 2 Song of the Dark Swan 1.4 Mod Apk Free on Android
Contents
How to Solve This Problem:
Apple itself has not yet commented on this situation. The solution to the problem is expected in the next iOS updates. So, The best way for any of us is to roll back to the previous update, 11.3.1. All you need is to visit the link below and grab the iOS 11.3.1 ipsw file for your device and install it manually.
How to Install iOS 11.3.1:

Step 1: First download the iOS 11.3 firmware for your iPhone, iPad or iPod touch.
Step 2: After you have the file, disable Find My iPhone on your device by selecting Settings> iCloud> Find my iPhone and turn off the function.
Step 3: Then launch iTunes on your computer, be it a Mac or PC, and connect an iOS device to it. You will need to put it in DFU mode or recovery mode.
iPhone 8: Press and hold the side button on the device for three seconds. You should get the Apple boot screen. With the side button pressed, press the volume down button and hold both buttons down for ten seconds.
iPhone 7: Turn off your phone and press and hold the power/lock button on the right side of the iPhone 7 or 7 Plus for a period of 3 seconds. With the power/lock button still pressed, press and hold the volume down button on the other side of the iPhone. Keep holding both buttons down together for approximately 10 seconds. After approximately 10 seconds, release the power/lock button, but make sure that you continue to keep the volume down button held down for another 5 seconds.
Step 4: When your device is configured, go back to iTunes and hold down the Option (Mac) key or the Shift key (Windows) and click the “Restore iPhone” button. When prompted, select the iOS 11.3 IPSW file that you downloaded earlier.
Step 5: Finally, iTunes will work on its magic and will return to iOS 11.3 on request. After that, you will be configured to either restore from a compatible backup of iTunes or iCloud or, if you want, reinstall the device.
You might also like:
- Download Tap Titans 2 2.8.2 Mod Apk with Unlimited Gold & Power
- MMX Hill Dash 2 2.01.10824 Mod Apk (Unlimited Gas, Nitrous, All Upgrades, Free Diamonds)
- Kick the Buddy 1.0.2 Mod Apk (Unlimited Gold/Money for Free)
Be the first to comment